This is an oldie but Goodie! Did this project for DIY Network, but when the holidays roll around, I always think of it — because I can picture myself next to it — even if we couldn’t put an actual fire in it — it still gave off that charming fireplace feel — even without the fire! So if you don’t have a fireplace (or cannot have one — or you have an old fireplace that no longer works) you can still create that charming and inviting cozy feeling you get from sitting around the fire. xoxo Joanne
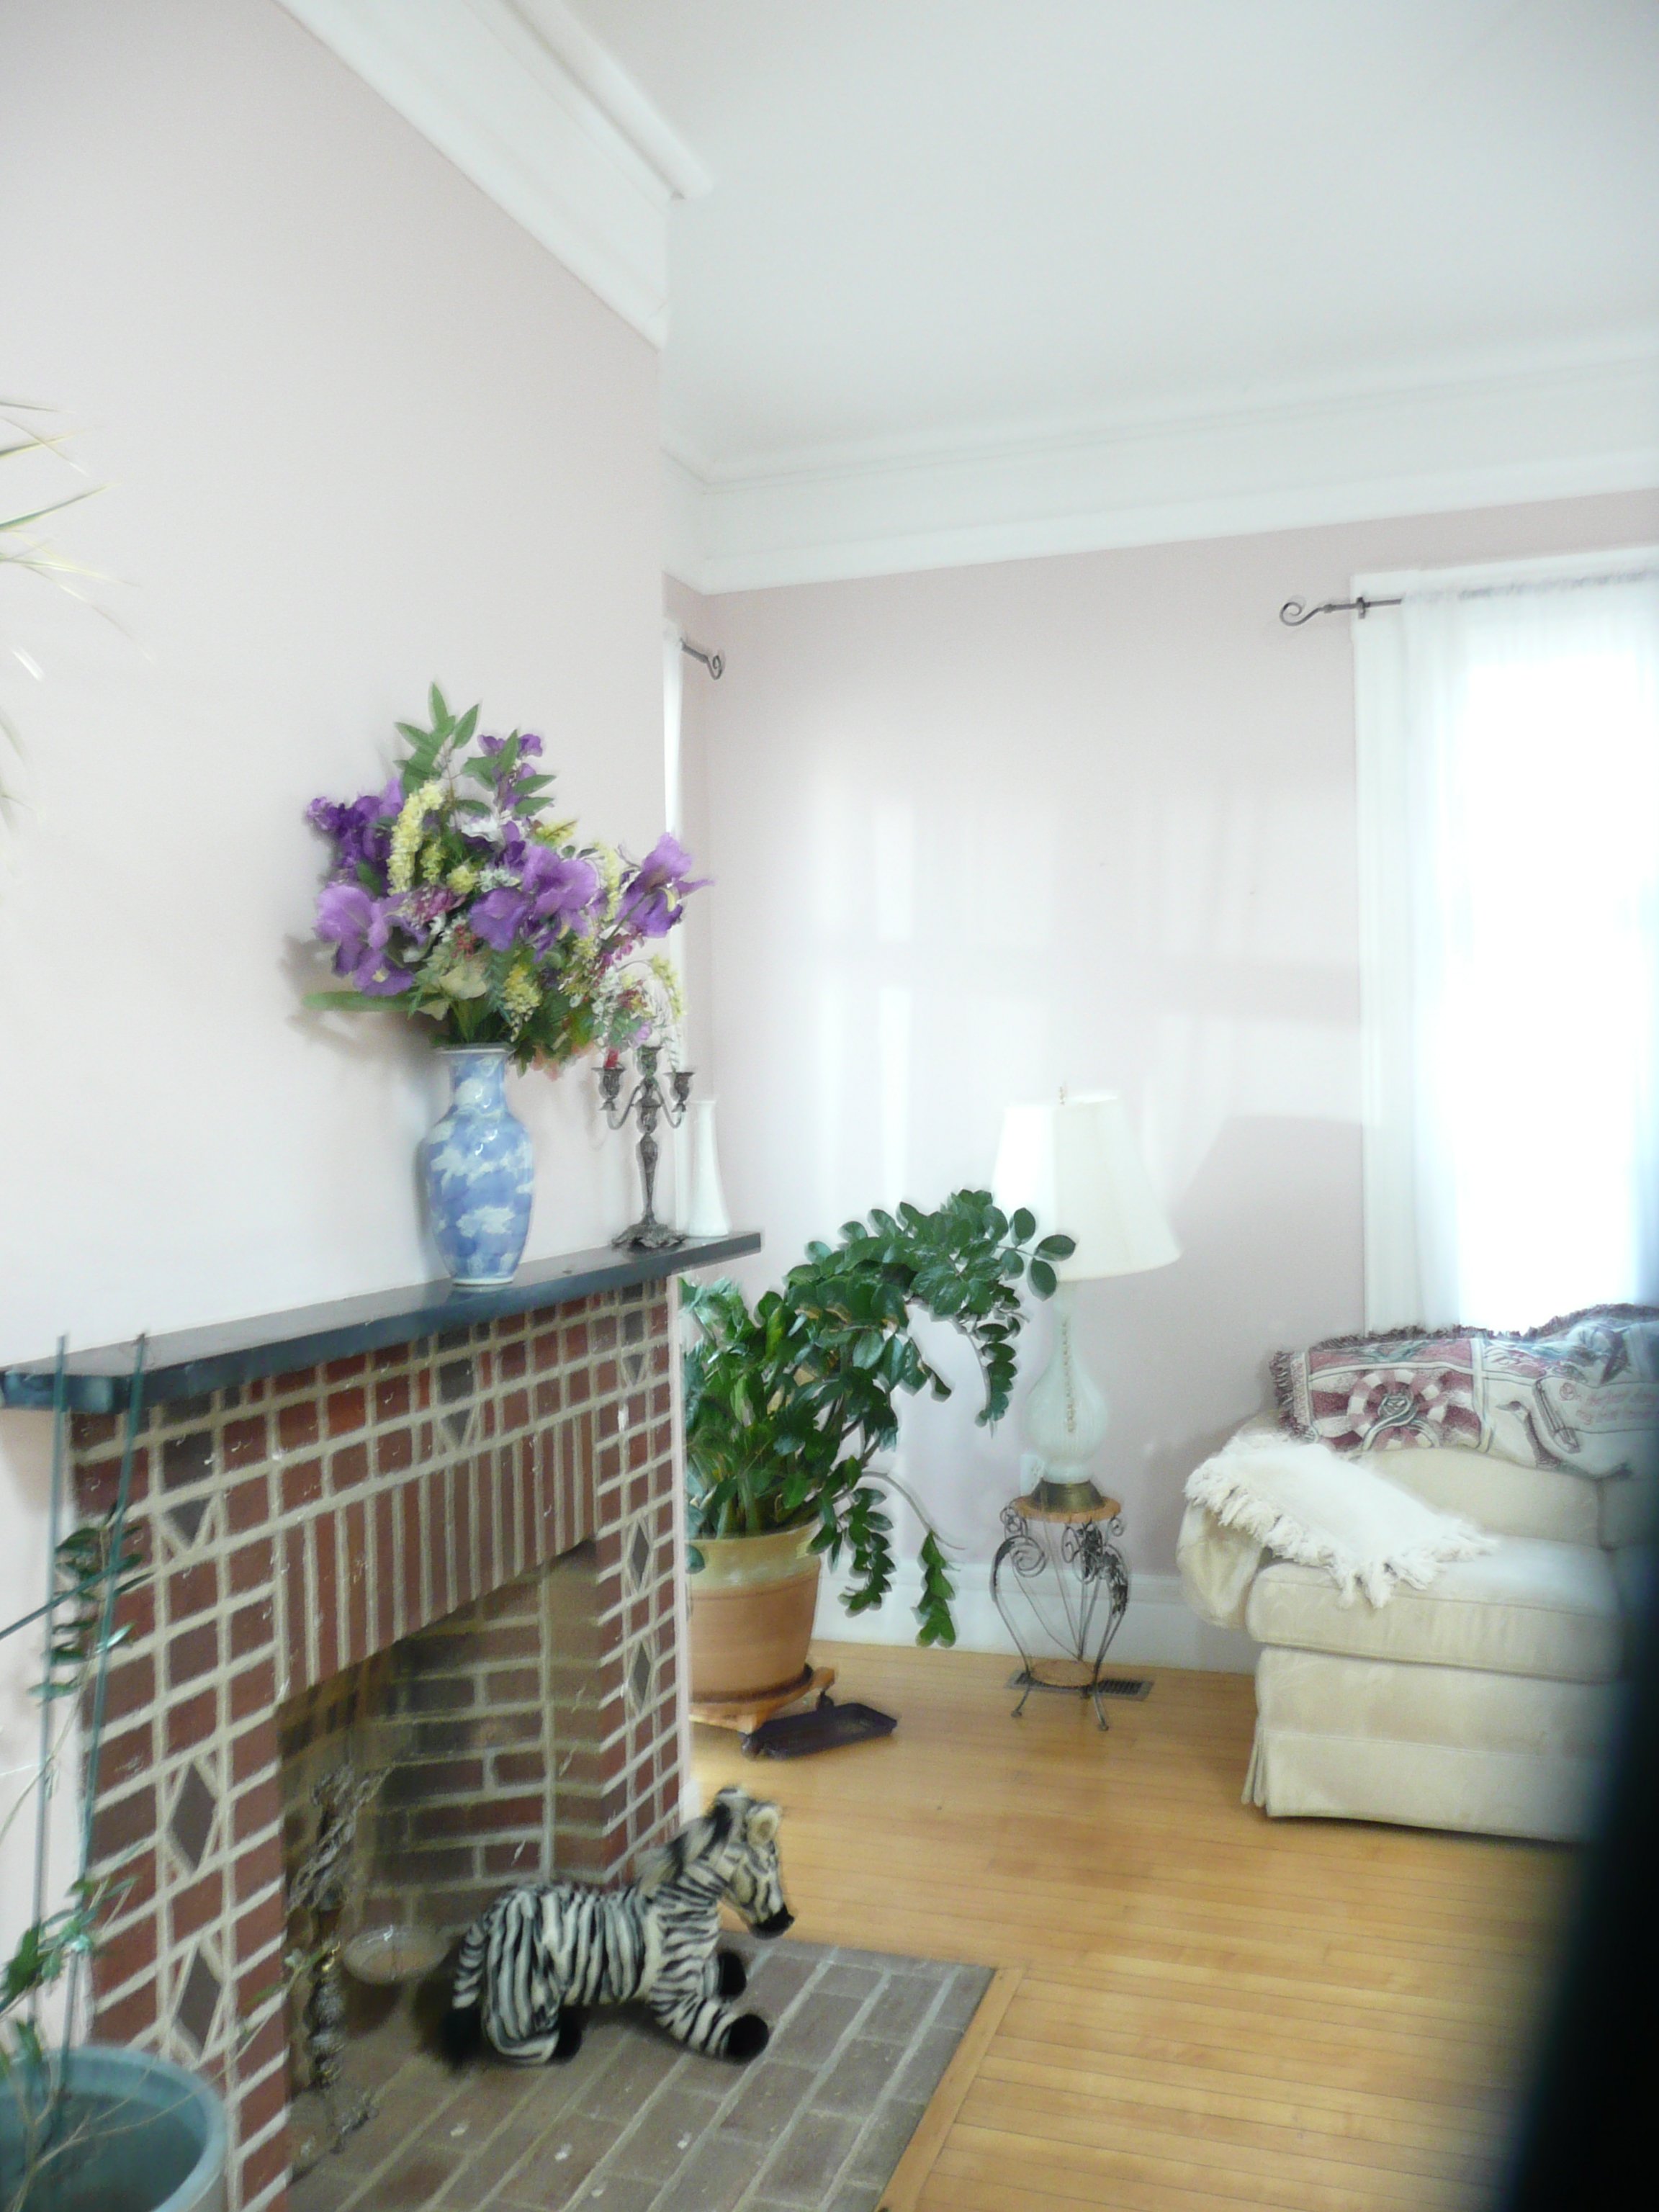
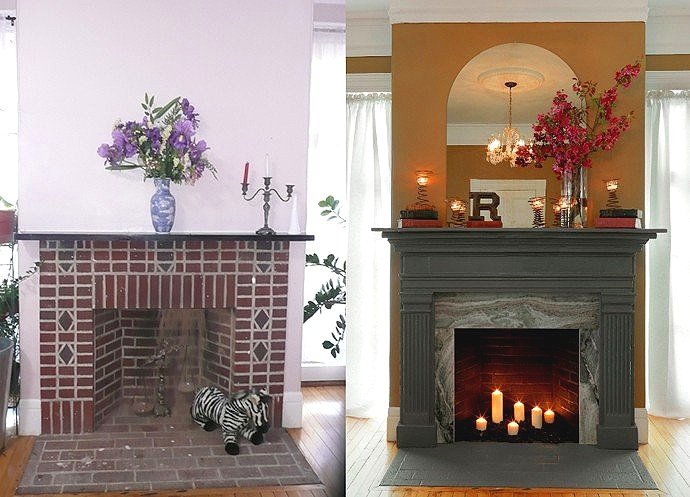
BEFORE: So this is what we started with. An outdated brick fireplace that had a very narrow mantel. The fireplace no longer was in use, but that didn’t stop us from creating a super budget friendly mantel makeover!
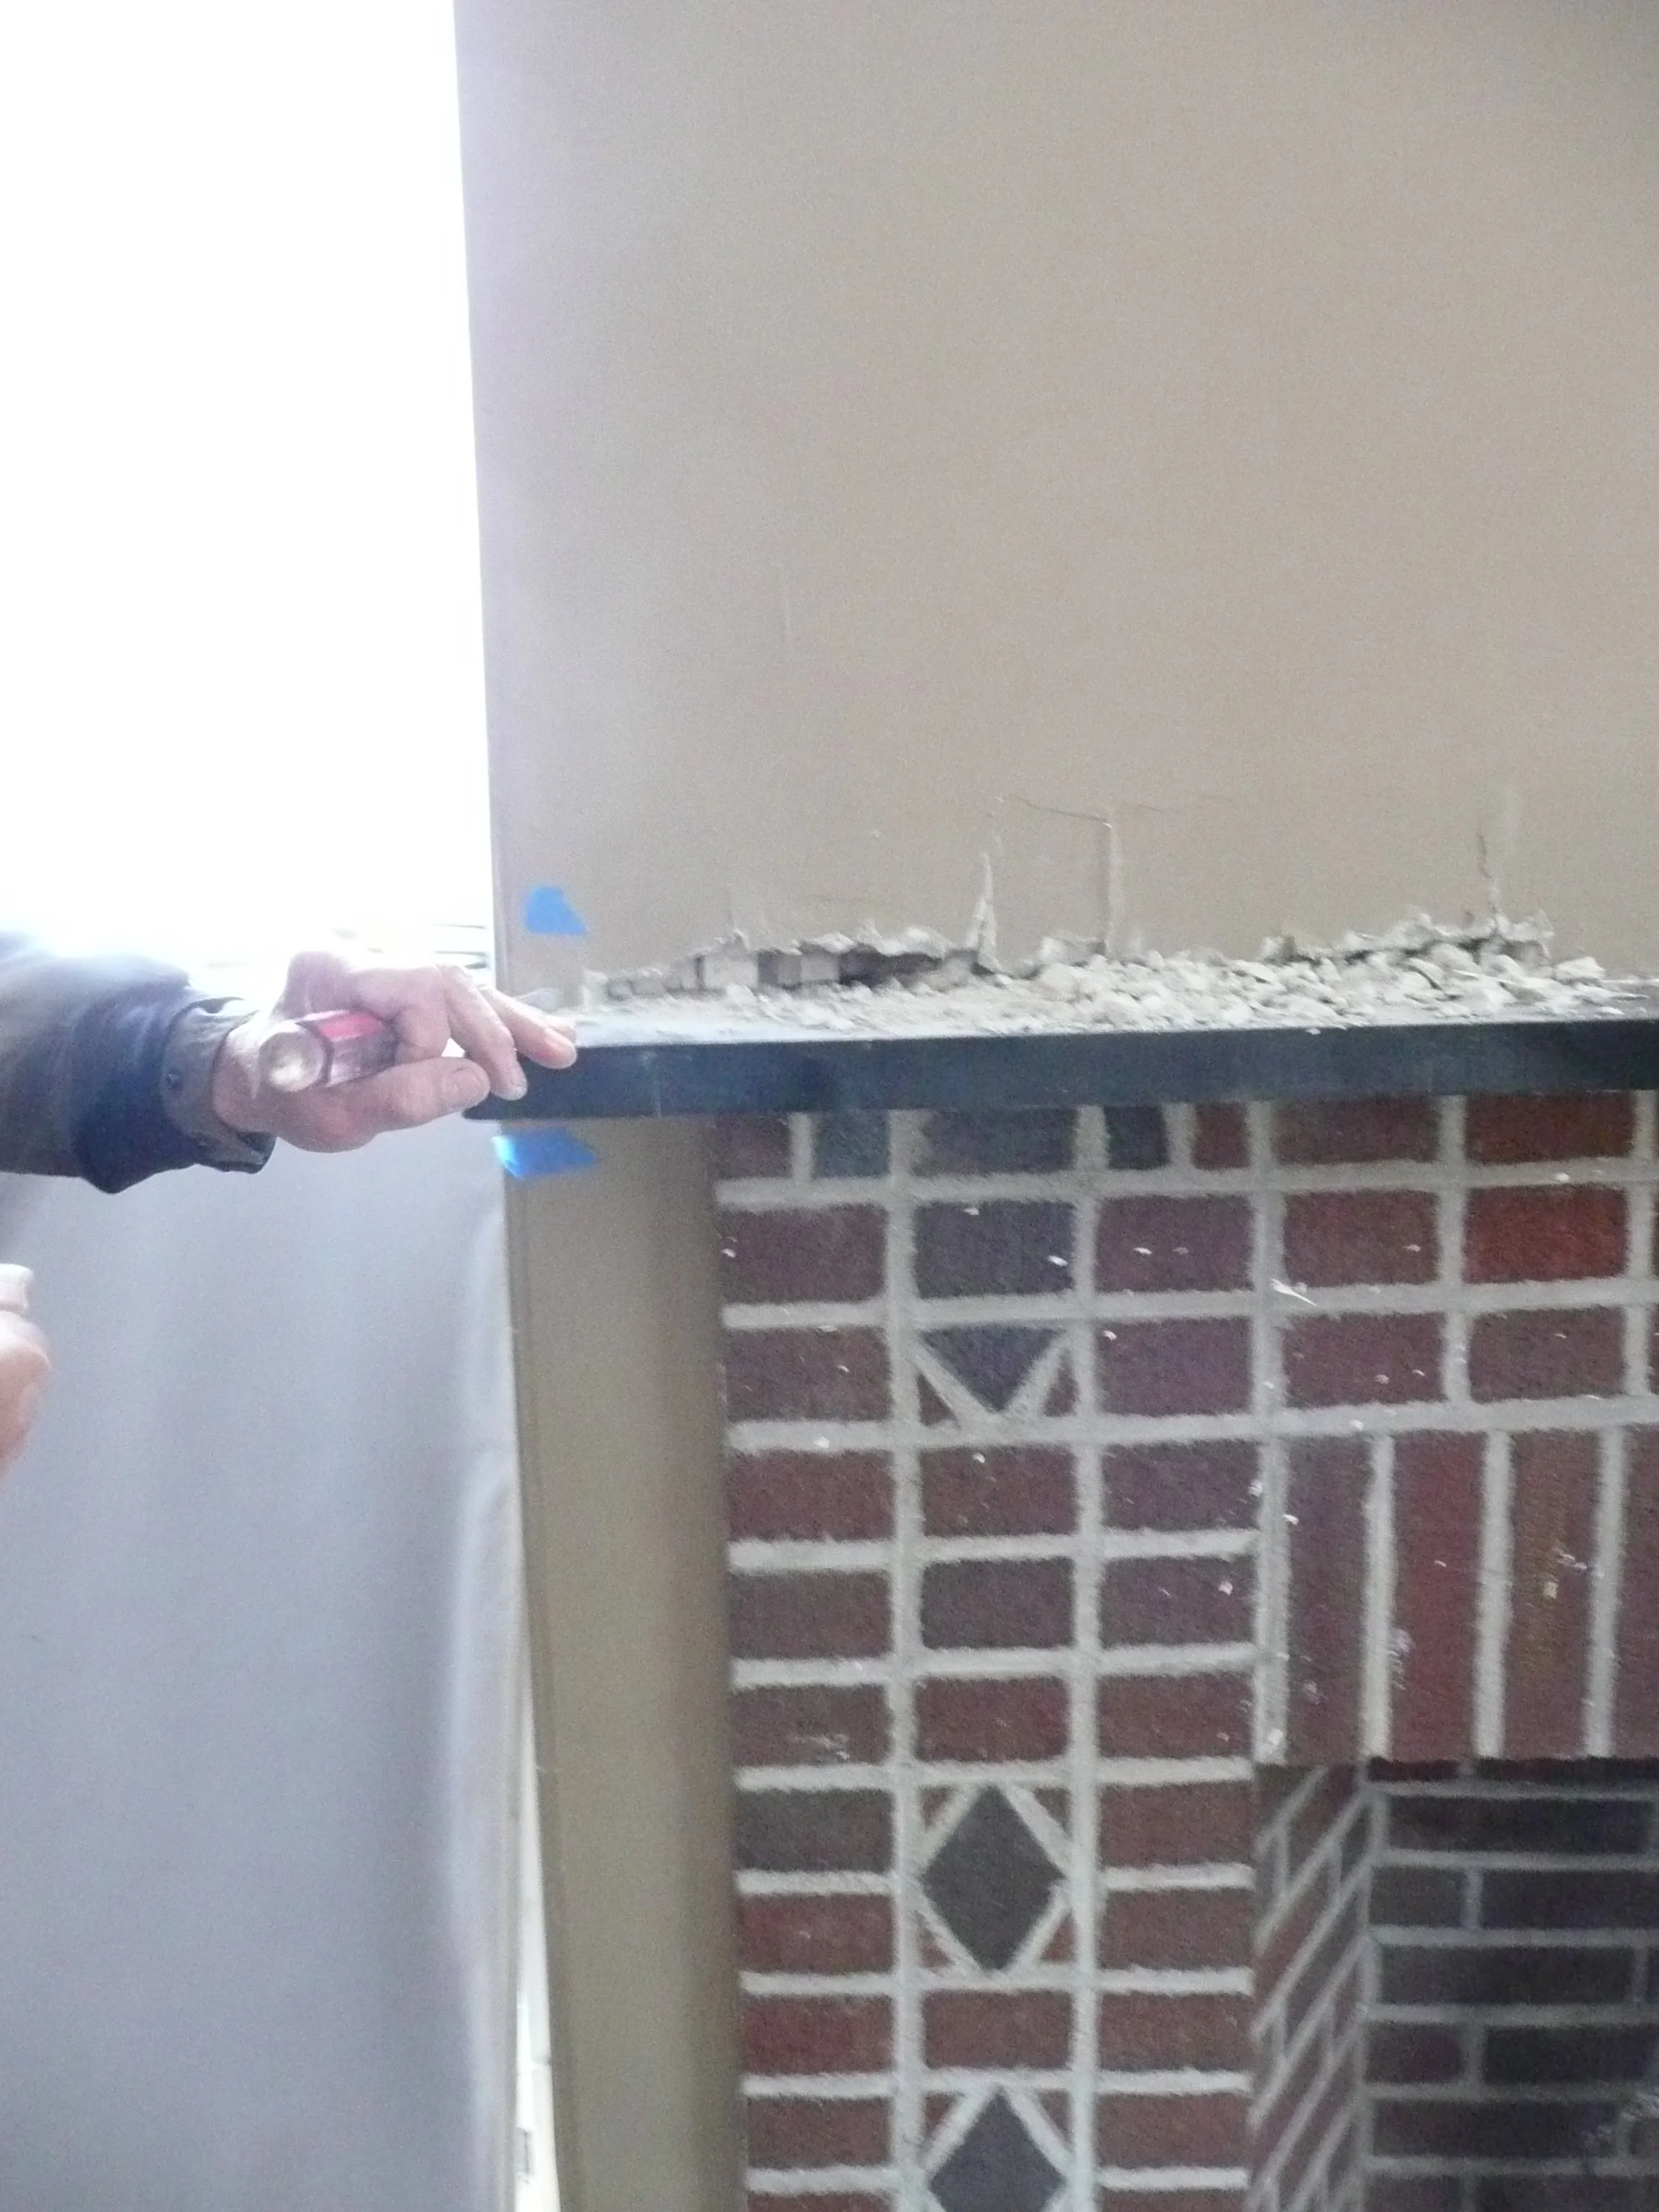
ANOTHER BEFORE: :)
Why did we remove the old mantel… because we wanted to create a wider mantel — and we wanted to start with a wider piece of wood.
NOTE: MAKE SURE TO FOLLOW ANY CODE FIRE RULES — ESPECIALLY IF YOU HAVE A WORKING FIREPLACE.
Thankfully, we had a large brick area above the fireplace — so we could go ahead and add the wood directly on top of the brick. We
We found these left over pieces of marble at a salvage shop for about $20 each… We used them to go over the brick in the surround area of the fireplace (we needed at least 12” all around the firebox). Again, refer to the CODE requirements for your fireplace.
Make sure the brick is cleaned well — and ready for the adhesive to place the stone…
After a good cleaning — you can paint the inside of your firebox with FIRE-RATED Paint! Let dry well before moving on. You may need a second coat. Read instructions on paint carefully!
We used a frame and weights to help the marble cure to the brick — as you can see we have not put up the top piece yet — we did the side pieces first — then the top went up after a day. You have to make sure the pieces are really PRESSED into the brick.
We found this old fireplace mantel and sides at an architectural salvage shop. But you can go online and find them on many sites like ETSY, Ebay and other Second Hand Shops, or even Facebook Marketplace. Our mantel and sides was pretty much a wreck — that is why we got such a great deal on it — it needed a little bit more TLC. But you can find some beauties that don’t need as much work from $200-$500.
We added the salvaged surround… then added a few pieces of extra salvaged wood along the top as well, to make the mantel deeper. We nailed it all in place. (Again, make sure there is enough stone between the firebox and the wood part of your mantel).
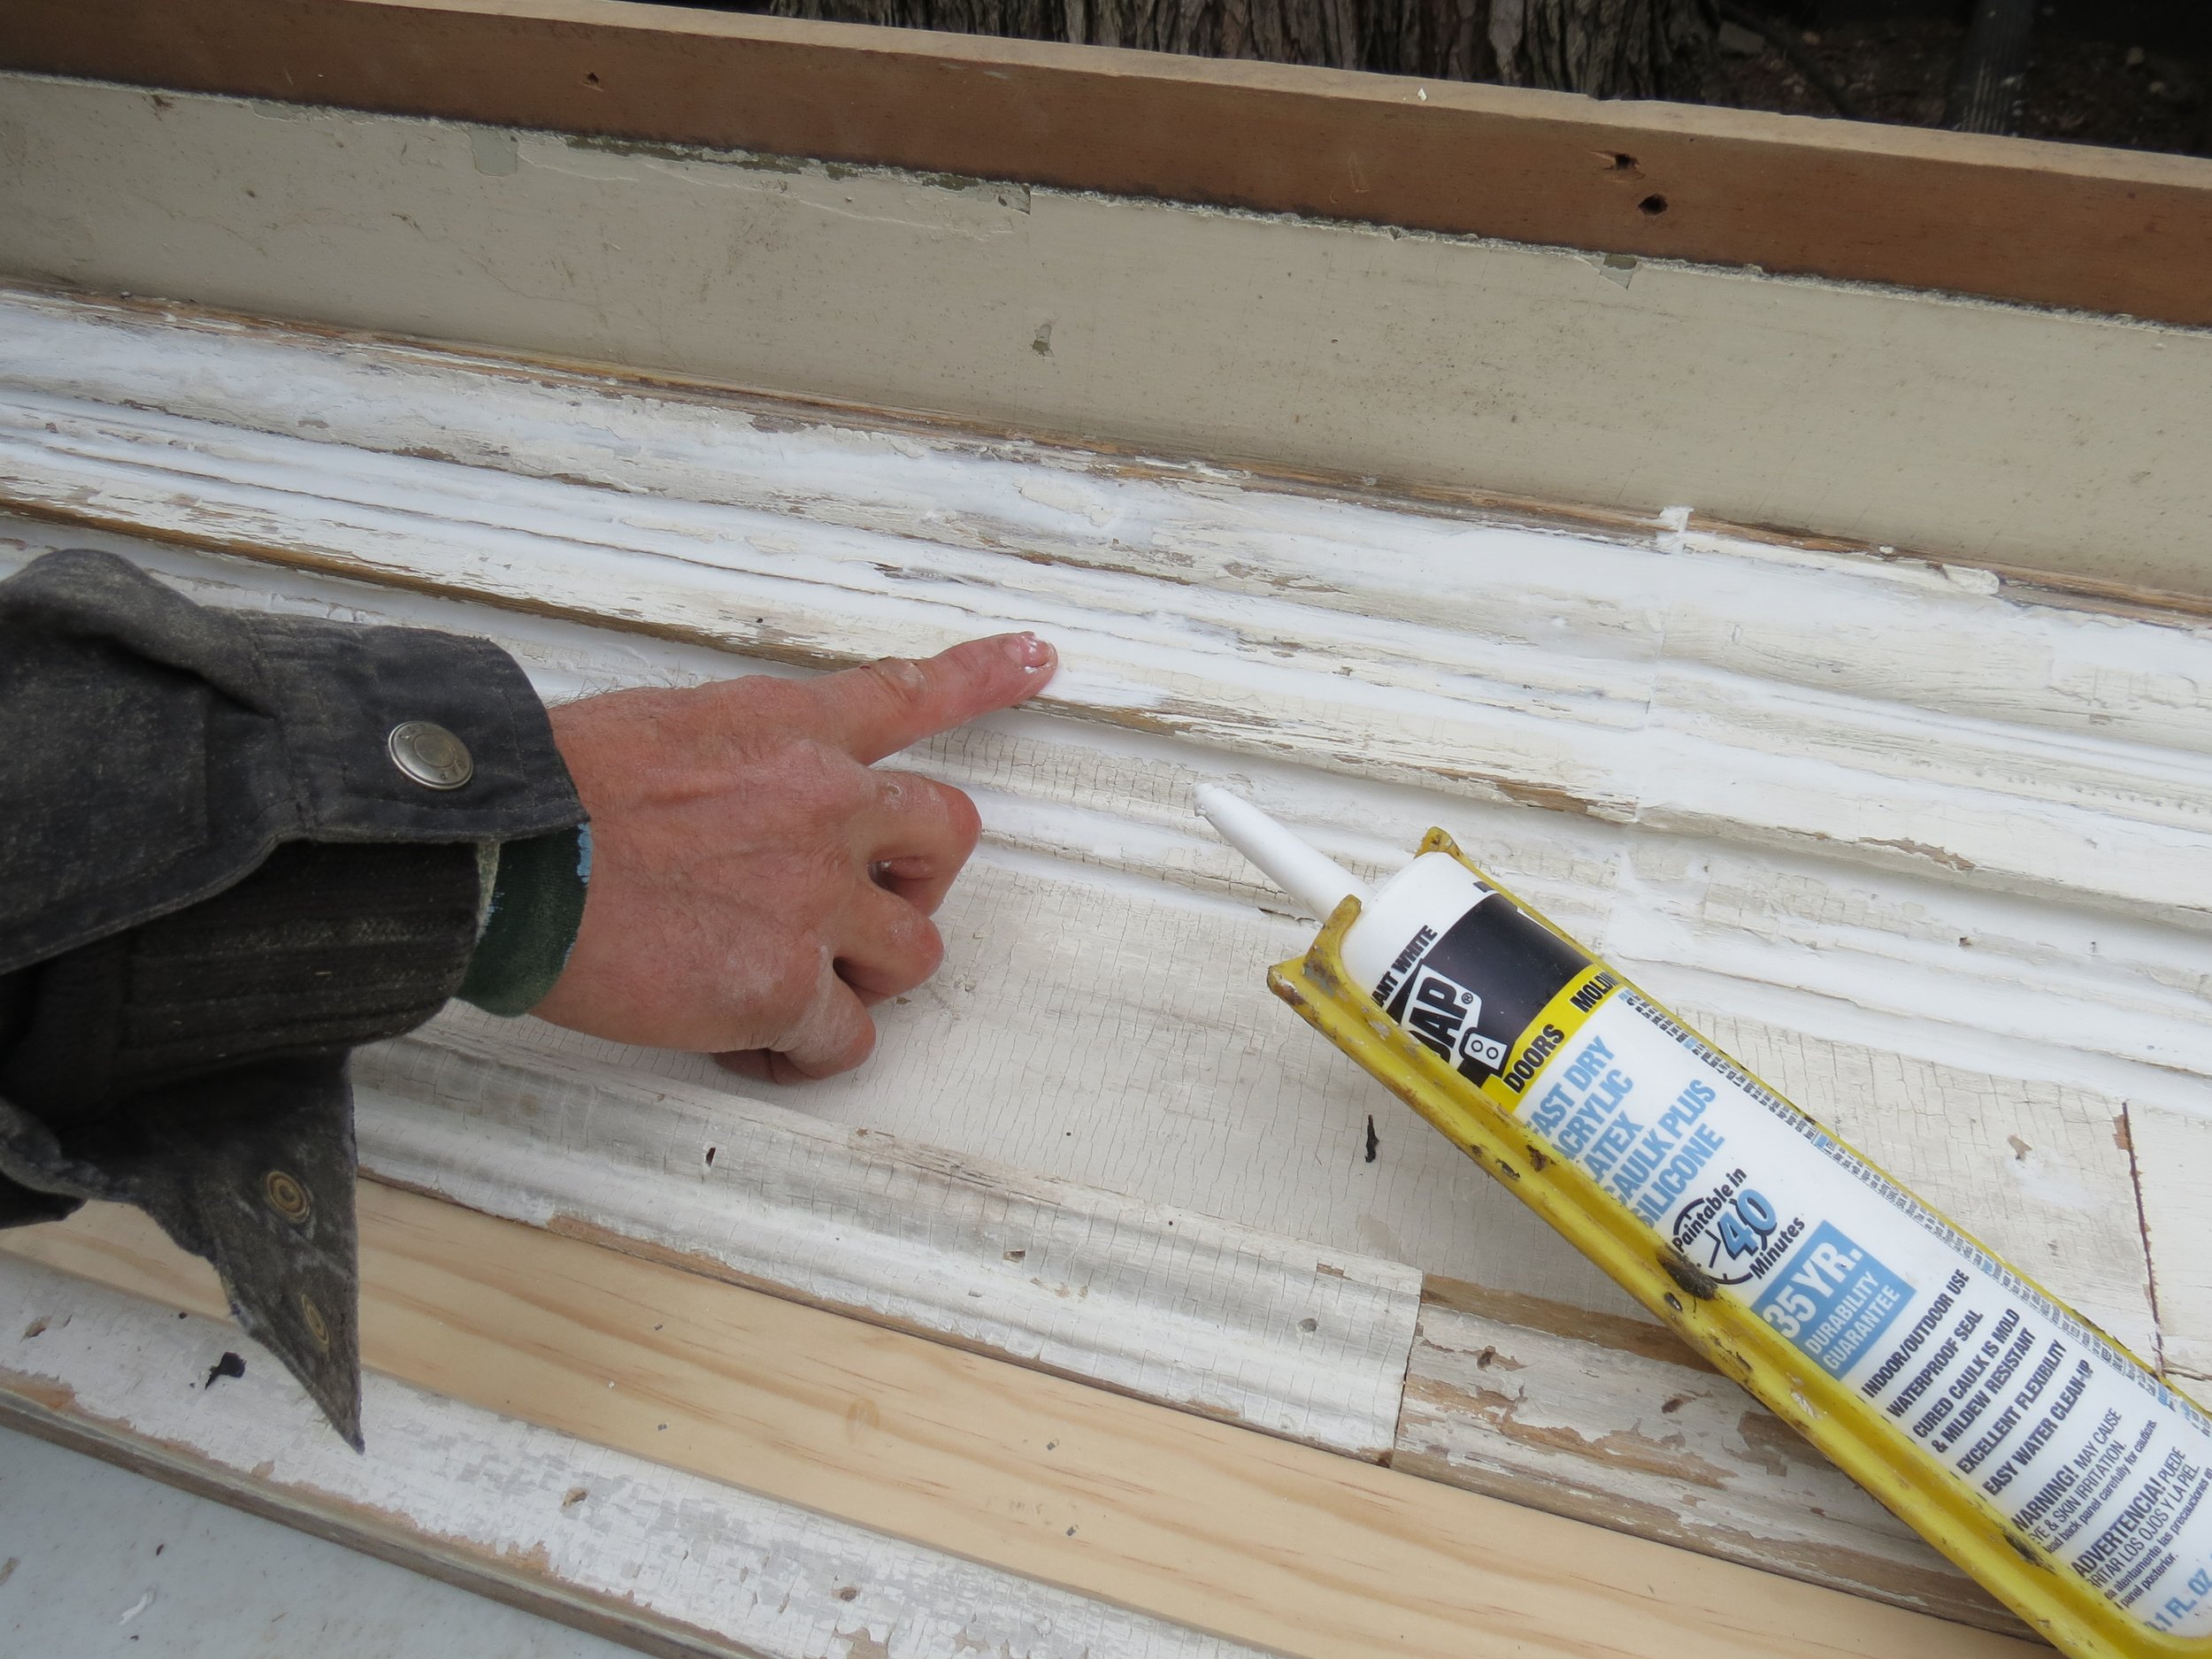
this is how all the pieces went together. We filled all the holes and caulked along all the seams. Then sanded it all.
Then I painted the entire surround.
TA DA! The completed fireplace makeover.
Then I added a $6 mirror I found at Goodwill, and some old bedsprings, books, candles and VOILA! A fireplace makeover… This is perfect in this historic home. But you can have an entirely different look by using different colors, style of salvaged trim and decor. Enjoy!
For my book, Styling with Salvage, we photographed this amazing house in Texas and in one of the bedrooms was a vintage fireplace mantel and sides that didn’t have a firebox but tiles instead. This is a great way to create a focal point in a room without actually having a fireplace.
Hope you enjoyed this project. For more fun DIY’s check out my books.


